How-To Tutorials: How to Install Your Own Interlocking Pavers
Introduction
Installing interlocking pavers is a relatively easy and fun way to beautify your home. Pavers are durable and possess timeless charm. By taking the proper steps, you will enjoy years of beauty from your new driveway or walkway. All you will need is a weekend, a couple of friends for company and a few tools. Click through the six easy steps to find out how to install interlocking pavers at your home.
Tools and Materials
- An example of tools and materials needed:
Ask the Experts
For more help on how to install your interlocking pavers, contact your local Graniterock branch!
Find a location near you
Interlocking Paver Links
CALSTONEPACIFIC INTERLOCK
McNEAR
A
Before You Begin
Installing interlocking pavers requires a weekend of your time and some basic materials including a shovel, pick, wheelbarrow, tamper or vibra-plate, level, tape measure and a broom. Most of which you probably have around the house.Designing an area with appropriate drainage and soil is also critical. With minimal effort you'll have a beautiful surface that compliments your home and yard in no time at all.
Step 1
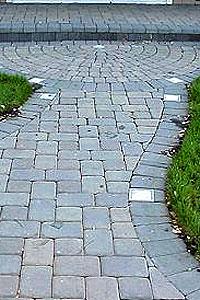
Design
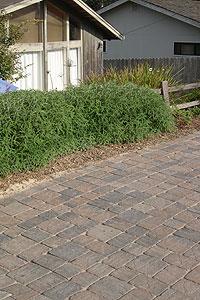
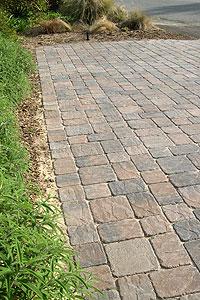
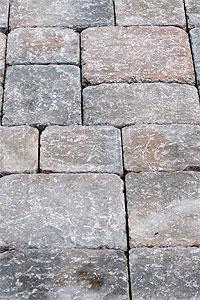
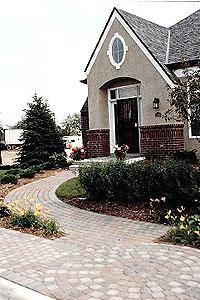
Choose a design pattern that fits the needs, the area, the color and the style you desire. Interlocking pavers will enhance the beauty of your home with attractive materials that will last for years.

Step 2
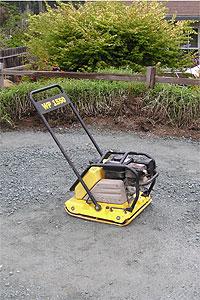
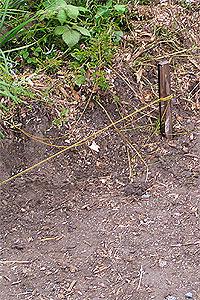
Preparation & Tools
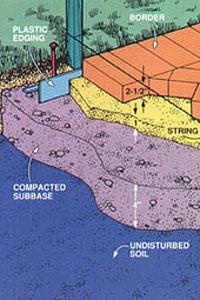
Along with the tools mentioned in section A. Before you begin you will need a string line, wooden float, and at least 2 pieces of 10' X 1" lengths of rigid EMT steel pipe.Your area needs to be cleared to a depth of 2-10" below the existing grade depending on usage (6-10" of compacted substrate for weighted traffic areas and as little as 2-4" for lighter-usage patio or walkway areas).
Step 3
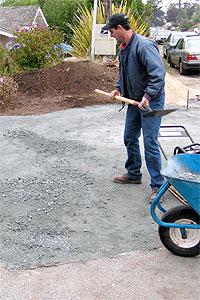
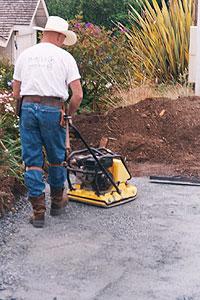
Base
Fill the excavated area with baserock, screed or level to the approximate desired height and compact. You may need to compact several times to achieve desired height. Compact in 2-3 lifts if using a vibratory plate type compactor.It is very important for the sub-base to be accurate, level, flat and compacted in order to prevent failure.
Step 4
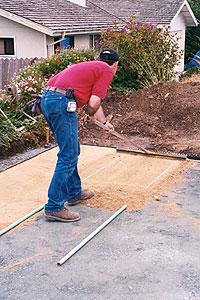
Sand
Dump washed concrete sand into the area. The sand will serve as a bedding course for the pavers. This will fill any voids left in the base material, and allow for minor adjustments to finished paver leveling during installation and completion. The sand-bedding course should not vary in thickness and should be between 1 and 1.5 thick regardless of usage application.
Step 5
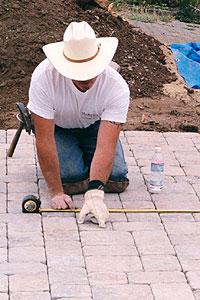
Laying Pavers
Find the truest corner and work a pyramid pattern to cover the area. Follow the pattern layout, checking frequently that your pattern is accurate. Address the edging according to your design. An edge restraint should hold the sand and the pavers in place as you work to fill in the prepared area.
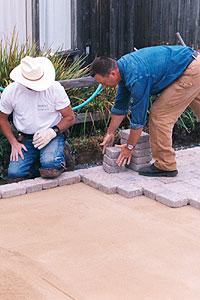
Step 6
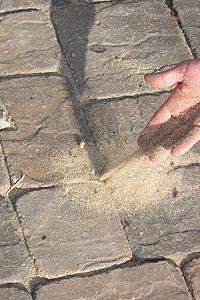
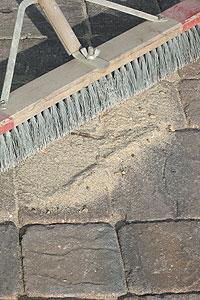
Compact & Final Sand
Compact the pavers with your vibra-plate working in a circular pattern from the outermost edges to the inside. Apply a finish coat of sand (joint sand) and sweep into the joints. Remember, try to use a diagonal sweeping motion. Use the vibratory compactor once again for final compaction, then sweep off the excess sand. You are almost done!
Step 7
Maintenance
It's up to you now. You can call it finished or opt for some final touches.An optional sealer can protect your new pavers from oil, tire marks and other types of stains. A proper sealer will stabilize the joint sand from washing out as well. Now you are done, enjoy!