How-To Tutorials: How to Build Your Own Concrete Countertop
Introduction
Building a concrete countertop is an enjoyable and creative experience. Homeowners and contractors alike are able to construct a countertop in just a few easy steps. All you will need is a NeoMix kit, some standard materials, a couple of friends and as little as two weekends of your time. Click through these easy steps at your own pace or view the video. Either way, you will soon be on your way to your very own concrete countertop.
Tools and Materials
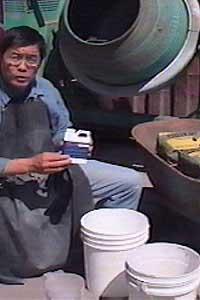
- An example of materials needed for a 3 cubic foot or 16 square foot countertop:
Ask the Experts
For more help on how to build your concrete countertop, contact your local Graniterock branch!
Find a location near you
Concrete Countertop Links
CHENG DESIGNQUIKRETE
A
Before You Begin
This project, which utilizes the NeoMix kit, is designed to go from initial drawings to finished countertop in two weekends time depending on the complexity of the counter and skill level.Before building the mold for your countertop, think about where it will be installed. Will the cabinetry and floors support the heavy countertop? Will the countertop need a backsplash?
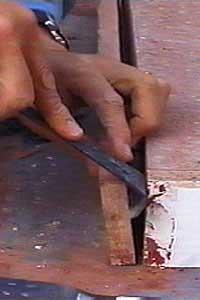
Step 1
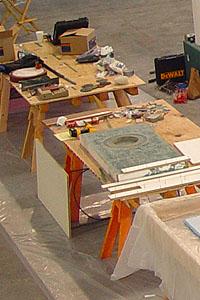
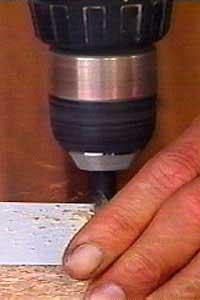
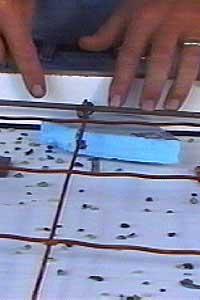
Mold Making
Draw your plans and cut out your mold. Assemble and caulk the mold and gather your inlays for the counter surface. Reinforce the countertop with 6X6 wire mesh making sure not to touch the edges.Use melamine laminate on your mold surface. The material produces a smooth predictable surface that requires little grinding or polishing.
Step 2
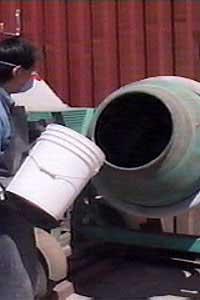
Mixing & Pouring
Now that your mold is prepared, it is time to mix your concrete, pour the mold, vibrate out the air bubbles and screed the excess. After your mold has been poured and prepared, you will want to leave your countertop in a humid environment for at least 3 days. It is a good idea to have at least 2-3 people to help with the pour and clean up process.
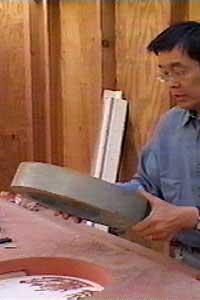
Step 3
Releasing the Mold
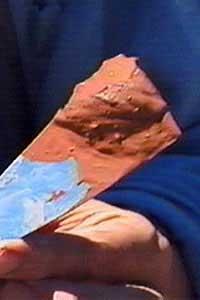
When your countertop has had the chance to cure for up to 4 days it is time to release it from the mold. Gently remove the mold edges with a prybar and the tap of your hammer. Take care not to use the concrete for leverage.With 2-3 friends, carefully flip the countertop over. The countertop should now dry for an additional 2-3 days.
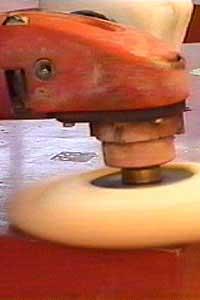
Step 4
Grinding
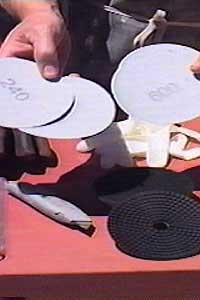
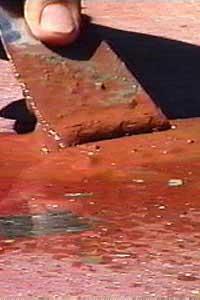
By using a variable speed grinder/polisher and graduating from course to fine grit papers you can achieve the texture that you desire.Using water and a circular motion, sand the surface of your countertop to your satisfaction. Always use GFCI circuits for safety when using the grinder.

Step 5
Applying Slurry
After you have prepared the surface to your desired texture you may want to fill some of the holes left by air pockets. Using a slurry mixture and damp sponge you can fill these gaps with any tinted color you would like. Use a 600 grit pad to clear residual slurry.This step is optional as you may prefer to preserve smaller pockets.
Step 6
Finishing
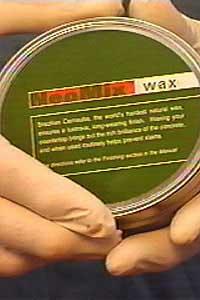
This is the fun part. Now you can see the results of your project. First, you will want to apply a surface sealer using a damp cloth.Second, manually apply wax and rub it in with circular motions. Use a variable speed polisher to buff your countertop to its final state.You're done!
Step 7
Maintenance
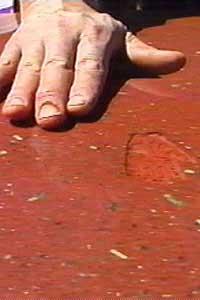
Concrete as a material is not impervious to stain. Acids such as wine, lemon juice or vinegar can etch the surface. When spills occur, clean up as soon as possible to minimize staining and etching.Clean with sponge and warm water. Do NOT use abrasive cleaning agents. Re-applying wax will always bring positive results.ENJOY!