How-To Tutorials: How to Install Erosion Control Materials
Introduction
As of March 10, 2003, Phase II of NPDES Clean Water Act has gone into effect. This new law will require building sites of 1-acre or more to design and apply for storm water and erosion control permits during and after construction. Local and State officials are enforcing this new law with focus being on new construction. Compliance of these new regulations is relitively simple, let Graniterock help you with your storm water management needs!
Tools and Materials
- An example of tools and materials needed:
Ask the Experts
For more help on how to install your erosion control system, contact your local Graniterock branch!
Find a location near you
Erosion Control Links
NORTH AMERICAN GREENEARTHSAVERS
CLEAN WATER ACT (EPA)
A
Before You Begin
Major erosion control considerations are sheet water run off from any hardscape and raindrops hitting exposed soil. The idea is to reduce the velocity of the water from all sources. For this particular project, we will be incorporating both erosion control blankets and rice straw wattles.
Step 1
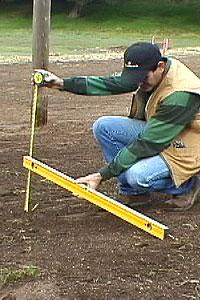
Measure
Measure the dimensions of the hillside you will be covering and the length of wattles that you will need. Next, determine the degree of slope; this can be done with a level and tape measure. The level will give you the run and the tape measure, the rise. Here we have a 4:1 slope. Using the ratio, you can determine the proper blanket and staple pattern.
Step 2
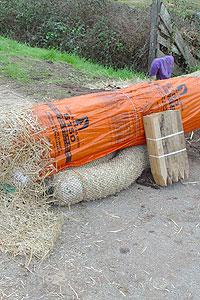
Select Materials
Next, pick up your materials from your local Graniterock branch. Your Graniterock representative will help you determine what erosion control materials you will need.
Step 3
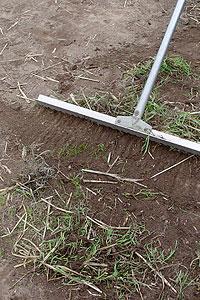
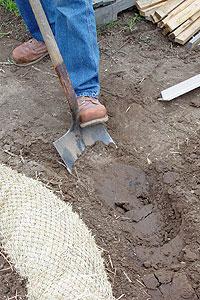
Prepping the Soil
Rake free any dirt clogs or standing vegetation, the blanket must sit tightly against the earth. Next, dig a small trench at the top of the slope and bury the top edge of the blanket in the trench, this will help anchor the blanket to the hillside. Seed the area to be covered with a fast growing fescue designed for your region.
Step 4
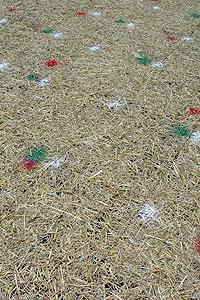
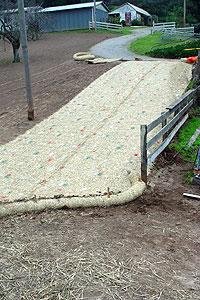
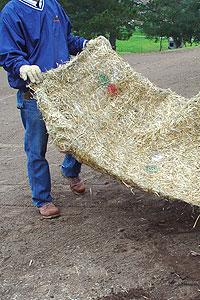
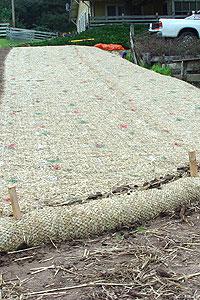
Installing the Blanket
Start from the top and work your way down across the total area to be covered. Install staples as per manufacture's recommendation based on steepness of slope and terrain. At this jobsite installers are using the red dot pattern due to the 4:1 slope and conditions of the soil. Install staples on each designated dot and along the perimeter of the blanket. That's it for the blankets!
Step 5
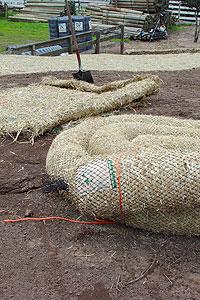
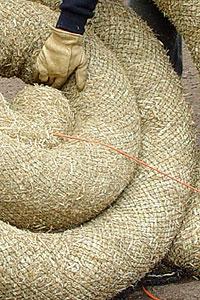
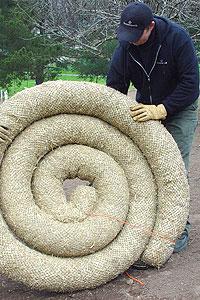
Installing Wattles
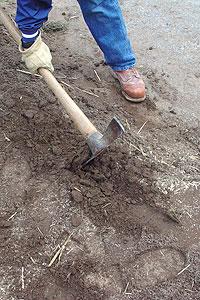
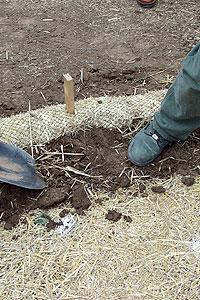
First dig a trench approximately 3' deep the length of the wattle.
Step 6
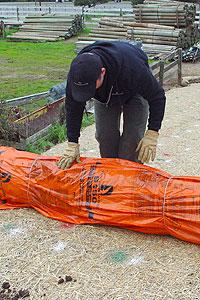
Wattle Placement
Next, place the wattle into the trench and walk on top of the unit to seat tightly against the soil.
Step 7
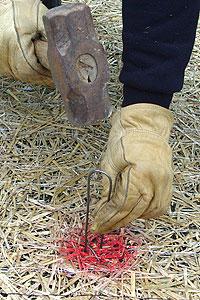
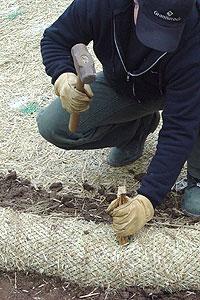
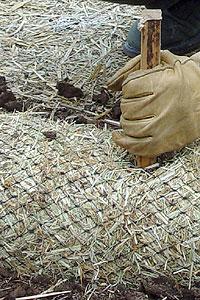
Staking
Now stake the wattle in place using 18" - 24" wood stakes. Space approximately 3' - 4' on centers.
Step 8
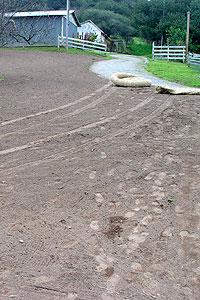
Berming
Finally, berm the backside of the wattle with soil to ensure sediment entrapment.And there you have it, a protected, compliant hillside ready for winter!
Step 9
Maintenance
After every rain, make sure the integrity of the system is still intact, walk the perimeter looking for loose soil and blowouts. If any blanket shows signs of undermining, repair immediately. With current blanket products, you should see a life span of 12-36 months. With the life span of wattles being 12-18 months, depending on elements and conditions.