How-To Tutorials: How to Install a Concrete Slab
Introduction
Installing a concrete slab as an added parking area or simply an attractive area to accent your home is something that you can do with a couple of friends. While not a complicated project, your new slab will take a few weekends to complete and when you're all finished it will need 3-4 weeks to completely cure. Follow along these easy steps and see how Graniterock can help you with your project. We'll cover the basics, from excavation to maintenance.
Tools and Materials
- An example of tools and materials needed:
Ask the Experts
For more help on how to install your erosion control system, contact your local Graniterock branch!
Find a location near you
Concrete Slab Links
USA North (locate underground utilities)CONCRETE CALCULATOR
A
Before You Begin
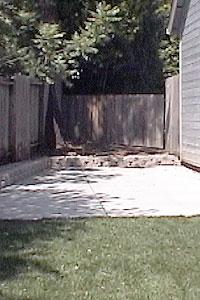
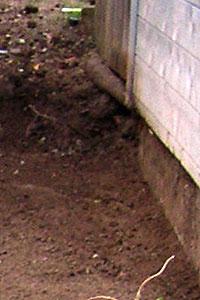
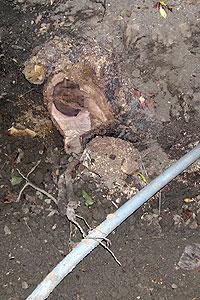
When planning for your new slab consider its environment. Are there trees or roots that will need to be removed or underground utilities that have to be addressed? (call to locate underground utilities (800) 227-2600). Also, water will need to move away from any structures to avoid damage. Local codes may apply as well depending on the scope and area of your project.

Step 1
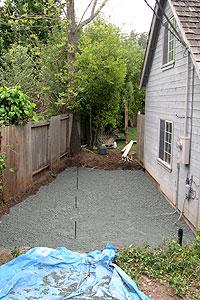
Excavation
A solid, long-lasting slab requires a well prepared base and uniform subgrade. Your project, soil and local codes will dictate how deep and wide you will need to excavate. While your slab thickness will remain constant, the slope will generally drop .25º per foot for drainage. The slab and base thickness will range from 80”- 160” depending on usage. Ask your Graniterock representative about your specific needs.
Step 2
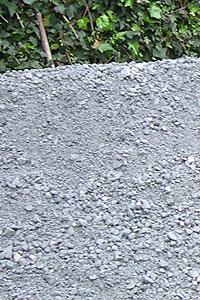
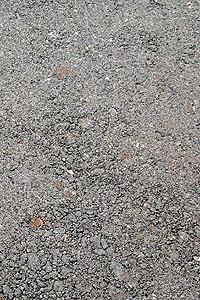
Base Materials
After excavation you will need to place base rock and possibly sand to ensure a quality concrete slab. Proper materials will help avoid future settling and assist in drainage. To determine the proper amount of base rock ask your Graniterock representative for assistance. Needs will vary based upon your specific project requirements.
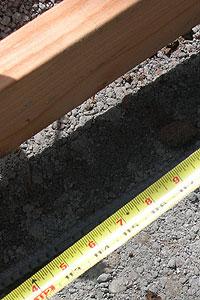
Step 3
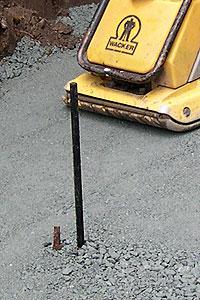
Compaction
Upon filling the appropriate amount of base material into the slab site, wet the area and use a hand tamp or motorized compactor to compress the base material. Compaction should occur in 20” increments for optimum results. When you are finished with compaction, you should have a smooth area that is consistently 40”-60” below the final concrete surface depending on requirements.
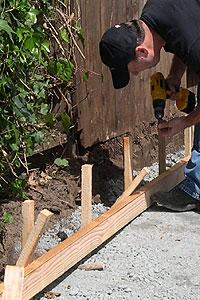
Step 4
Forms
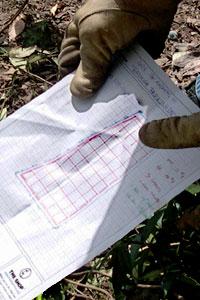
In order to shape your slab you will need to create forms around the perimeter. Generally 2X4 or 2X6 boards are used. Place stakes to brace the forms every 120”-160”. “Kicker” stakes, positioned on the outside of the forms angling in, should be used to avoid expansion. Complex curves and patterns area also possible, consult your Graniterock representative for ideas and assistance.
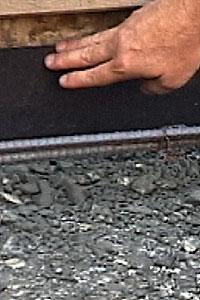
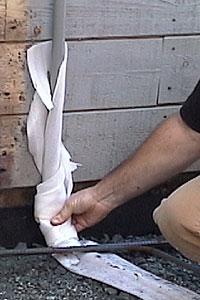
Step 5
Joints
Isolation and construction joints must be used to allow for expansion and contraction of the slab. When concrete is poured around pipes, other concrete edges or drains, use buffering materials that have flexible properties to avoid cracking. Seams should be set into the surface of your slab to manage cracking for surface areas greater than 60” in width.
Step 6
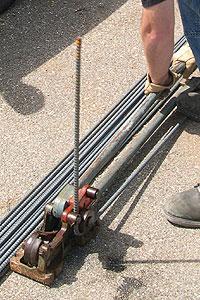
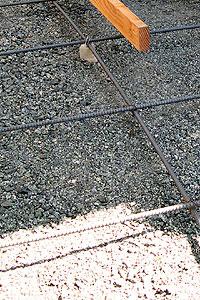
Rebar
Reinforcement is critical. Wire mesh or rebar (recommended) should be placed in a 120” square grid pattern throughout the slab area. The rebar should be completely contained within the concrete. Use dobies to raise the rebar off of the base material surface and stay at least 20” from the form edge. Tie off the rebar intersections with wire.
Step 7
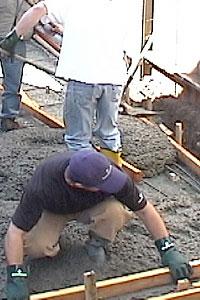
Concrete
Call your Graniterock dispatcher and get ready to pour! Have tools and friends handy and wet the base material. When the concrete arrives, shovel and “tailgate” into the forms. Use your screed boards to roughly level off the poured concrete while shoveling incoming concrete into place. Continue until the pour is complete. Screed the entire surface and your ready to finish it off!

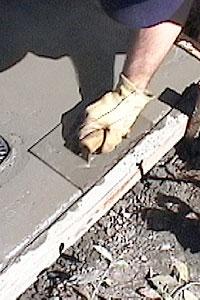
Step 8
Finishing
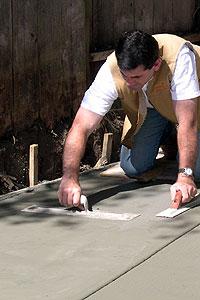
After screeding, allow the concrete to set until the surface looks shiny. Begin finishing by floating the surface with a wooden float which removes excess water and knocks down ridges. Groove the surface as needed. Edge the concrete with an edging tool. Use a finishing, steel trowel in a circular motion to smooth out the surface. Finally, apply a fine texture with a broom. which will keep it from being too slippery!
Step 9
Maintenance
Your slab requires little to no maintenance once the curing period has passed. Allow 28 days before using your new slab to ensure appropriate strength. After 2 weeks have passed, you may remove the forms. Now you are ready to enjoy your new concrete slab!